Bench method
Truing improves when each change is deliberate. Lipbab organises practice around observation first, then small corrections, then a tension and stress-relief finish.
Observe, map, correct, finish
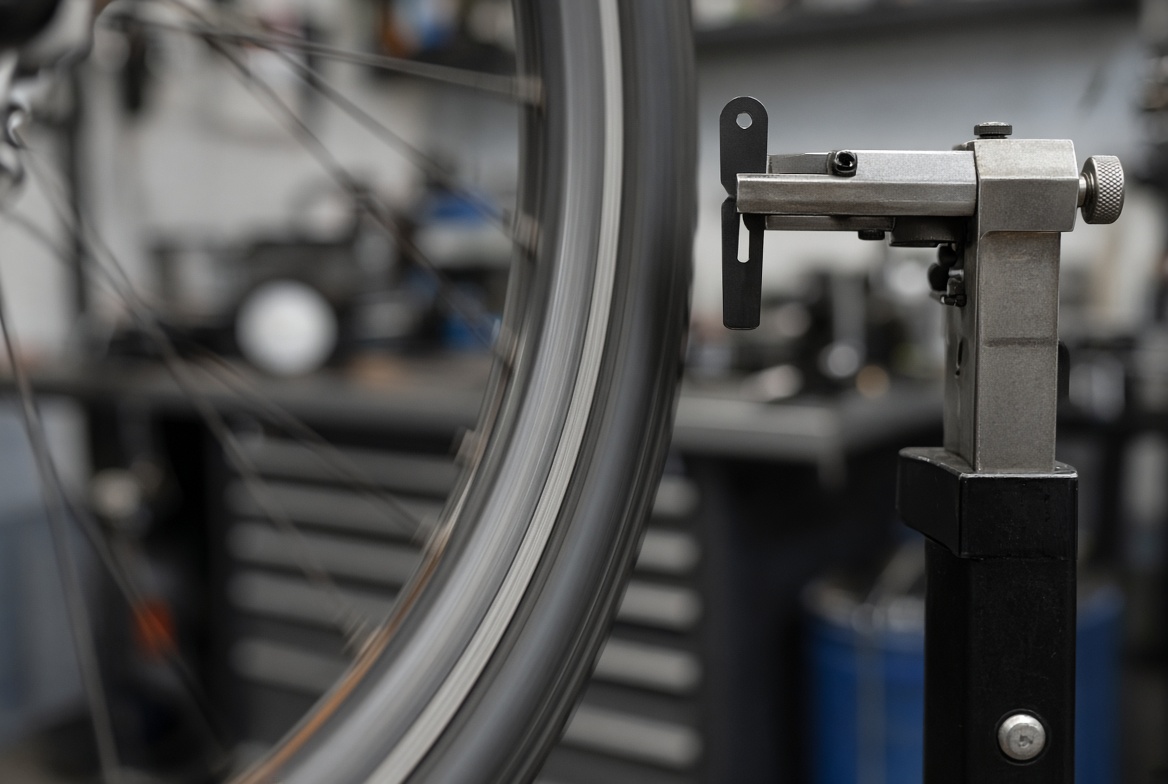
A session begins with reading the wheel: lateral and radial deviation marked clearly. No nipples are turned until the high spots are named.
Next comes a tension map — by feel or meter — so that soft and hard spokes are visible before correction begins. Correction then proceeds in small increments, with a re-check after each change. The finish is stress relief and a final spin against the indicators.
Scenario practice allows the decision sequence to be rehearsed even without a stand. When a stand is available, the same checklist is used on a real wheel.
Session sequence
Choose a unit
Beginners start with reading deviation and tension mapping. Correction units follow once observation is reliable.
Work a scenario or a real wheel
Mark high spots. Complete the observation checklist before any adjustment.
Map tension
Record relative tension around the wheel. Note drive-side differences on rear wheels.
Correct in small steps
Adjust control spokes for one hop at a time. Re-check indicators after each change.
Stress-relieve and final check
Relieve residual stress, re-map tension, and spin for a last lateral and radial reading.
What the method does not provide
- Commercial wheel repair or take-in service
- Professional mechanic certification
- Advice on building race wheels under sponsorship rules
- Tool sales or brand endorsements
- Guarantees that a bent rim can be fully restored
Those sit outside Lipbab’s educational scope. Damaged rims and hubs may need professional assessment beyond truing practice.
Pacing
Most learners work one unit session per week. A realistic session is 45 to 75 minutes. Short review of tension maps before the next real wheel is encouraged.